
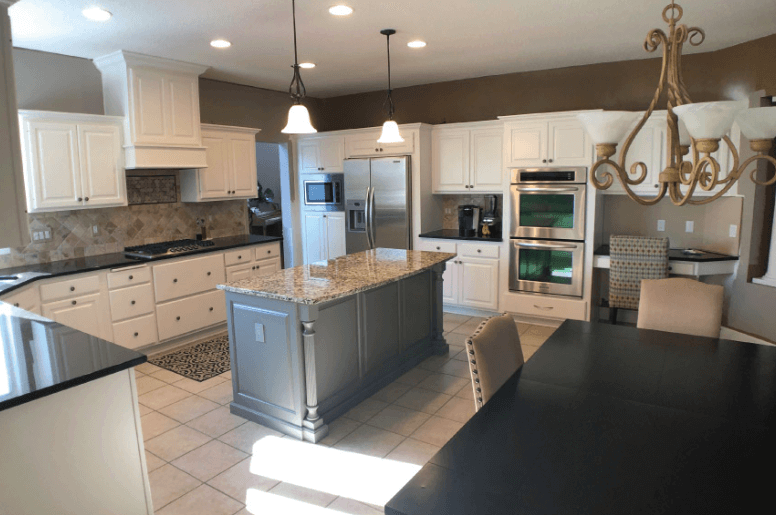
Painting kitchen cabinets is much less expensive than refacing or replacing them. But, to have the project turn out the way you want–and last for years, it’s best to have a professional painter do the job. There are several steps involved. Let’s see what they are.
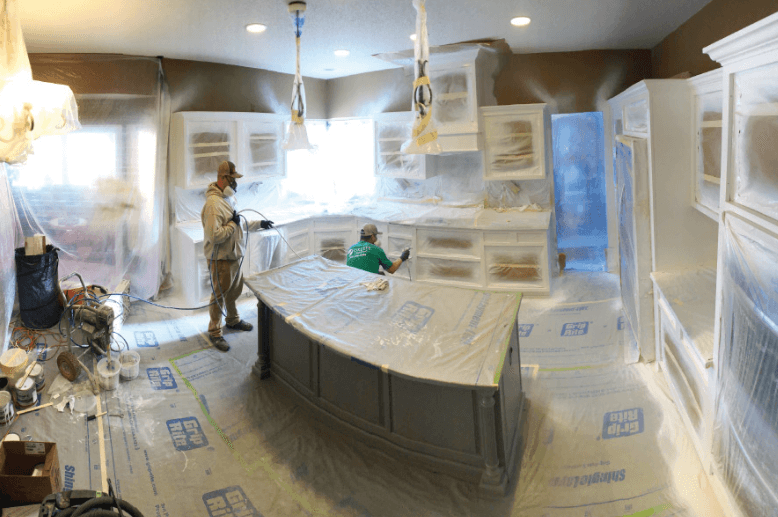
#1. Get The Kitchen Ready – this involves removing everything off the counters. You’ll also need to move the refrigerator carefully so it’s out of the way and you can paint any cabinets around it. The best way to do that is with an appliance lift. That way, you won’t damage the floor by sliding a heavy appliance across it. You can see us using an appliance lift here. After moving the frig, the entire space should be masked off and sealed from the rest of the house. That keeps the home free of any dust from sanding or paint from spraying.
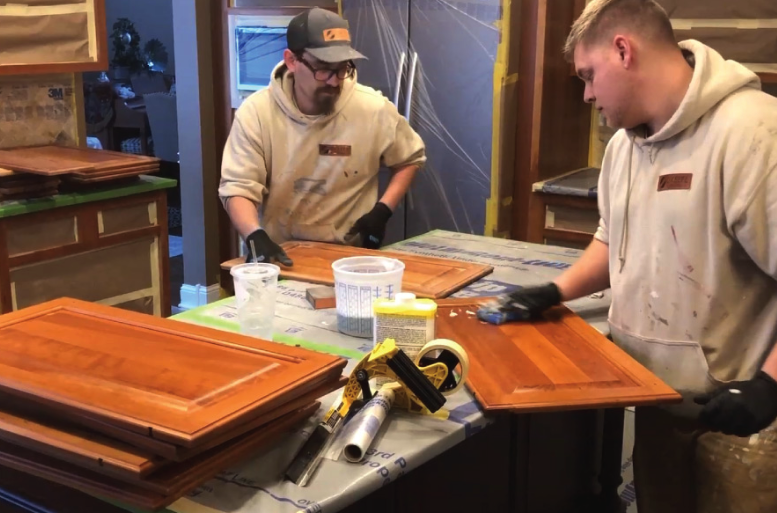
#2. Remove The Doors & Clean – After masking, it’s time to remove the cabinet doors and hardware. Cleaning using a good degreaser comes next. Even the most spotless kitchens get grease build-up, and it’s vital to have a clean surface, so the paint adheres. Make sure the front and back of the doors, drawer fronts, boxes, and all hardware are grease-free.
#3. Sand & Prime Everything Twice – Now it’s time to sand the boxes of the cabinets, door and drawer fronts. If the inside of the cabinets gets painted, there may be some sanding to do there too. Doing a good job sanding makes a considerable difference in the overall outcome of the project. You want the surfaces to look smooth when the job is complete. Once everything is clean and sanded, it’s time to apply a high-quality primer. We like Zinser primer products. When it’s time to paint – make sure the fumes get vented to the outside of the house.
Professional painters, like O’Keefe Painting who specialize in painting cabinets, will most likely have a controlled environment to spray the doors. If that’s the case, they’ll take your door fronts and spray them off-site.
Once the primer dries for at least 24 hours, everything needs to get sanded again with a very fine-grit sandpaper. After the second sanding, apply another coat of primer if needed.
#4. Apply Two Top Coats
The cabinets are now ready for a high-quality top coat. We recommend Hirshfields ILVA 2K poly. It’s long-lasting and looks great. For recessed and detailed areas, using an angled brush works the best. Everything else gets sprayed. After the first topcoat is completely dry (24 to 48 hours), it’s good to lightly buff the surface with extra-fine sandpaper, dust it off thoroughly, then apply one last fine spray coat.
#5 Hang the Doors – If the doors were sprayed off-site, it’s time to bring them back to the house and hang them. Transporting them carefully is essential. When we bring the completed doors back to the job, we wrap each one in wax paper. After hanging, take a last look at the doors and drawers and make sure they’re straight.
As you can see, there are lots of steps, and each one is important to the outcome. Skip or skimp on any part will mean your cabinets won’t have a top-quality job. Speaking of quality – if you’re considering having your kitchen cabinets painted, check out our website of completed cabinet jobs and give us a call.
O’Keefe Painting has been proudly serving the Minneapolis area for over 20 years. We specialize in painting kitchen cabinets, and we offer a full range of interior and exterior painting services. Call Conor O’Keefe, the owner today at 612-298-2244, for a free no-obligation painting estimate.
Recent Comments